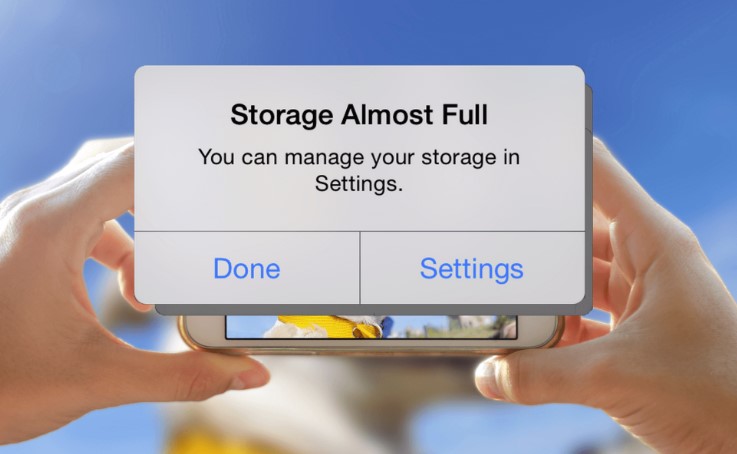
The following notice will be familiar to everybody who has ever had an iPhone: “iPhone Storage Full”. Managing your iPhone’s storage in Settings is the key to making more room on your device.
While Apple has done a great job in recent years of improving the way iPhone storage is displayed and managed, it is still possible to fill up your iPhone’s camera roll if you are a person who likes to take snaps and screenshots of anything and everything they see.
Photos can now be easily optimized (i.e. compressed to conserve space), thanks to a feature introduced by Apple in 2017. This setting, available in Settings > General > iPhone Storage (or Optimize iPhone Storage if you’re using a previous version of iOS), is aptly named Optimize Photos and claims to free up substantial amounts of space on your iPhone’s hard drive.
The question is, what does optimizing your photos actually do to them? When that shiny button is pressed, where do the pictures go? How, moreover, do you retrieve them? Here, let us explain.
According to the text displayed above the option, “optimized photos” means “full-resolution photos and videos are safely stored in iCloud, and your iPhone will use smaller-size versions.” To refresh your memory, iCloud is Apple’s cloud-based framework for safely sharing and syncing data across Apple devices. Once you turn on Optimize Photographs, you’ll still have access to your high-resolution photographs, but you’ll have to download them from iCloud whenever you need them.
The most obvious benefit of using Optimize Photos is that it reduces the file size of your photos on your iPhone. The savings might be substantial, depending on the number of photos already in your camera roll. If I used Optimize Photos on my iPhone, I could free up 28.88GB of space, which is enough to store another 5,000 songs on Spotify or about 25 movies lasting 90 minutes each.
As we’ve discussed, one drawback of using Optimize Photographs is that you’ll need to download your original high-resolution photographs from iCloud to restore them. This doesn’t appear to be a particularly challenging procedure. The low-res copies on your camera roll are more like thumbnails; tapping an image will bring up a high-res copy for viewing and sharing, and your iPhone will then upload it back to the cloud when you’re done. To this point, everything has been fine. The main drawback is that you need access to the internet to complete this. And a quick one at that.
You won’t have to wait long for a high-quality image to load on your iPhone, whether you’re at home, in the office, or on the go in a city with widespread 4G (or 5G) service. Your iPhone may have trouble downloading the image (if it can download it at all) if you are commuting, flying, in a region with poor internet connection, or traveling internationally (where internet can be pricey). You might think of Optimize Photos as a digital safe where the door can only be unlocked by means of a reliable internet connection.
This won’t be an issue for the vast majority of iPhone owners, but it’s something to think about before shelling out for the upgrade. It’s also important to note that the large photo files that Optimize Photos transforms will require a significant amount of free iCloud storage space. If you don’t, you’ll get the equally irritating “iCloud Storage Is Full” notice that appears on your iPhone.


